Here is an overview of the different stages of production of the home automation module and the MyShower.be software

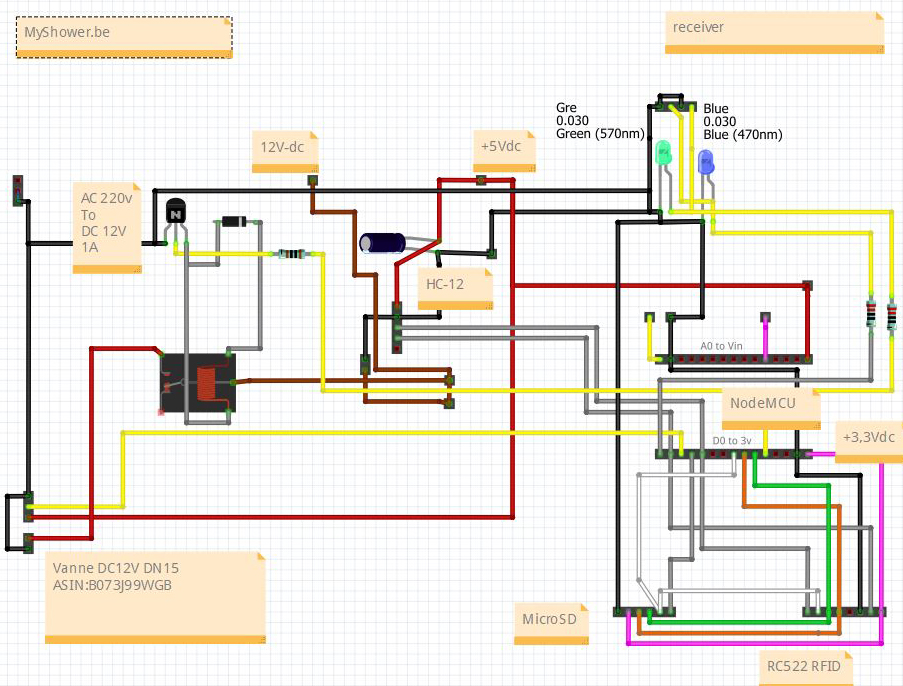
Receiver
Development of a block diagram with the Fritzing software
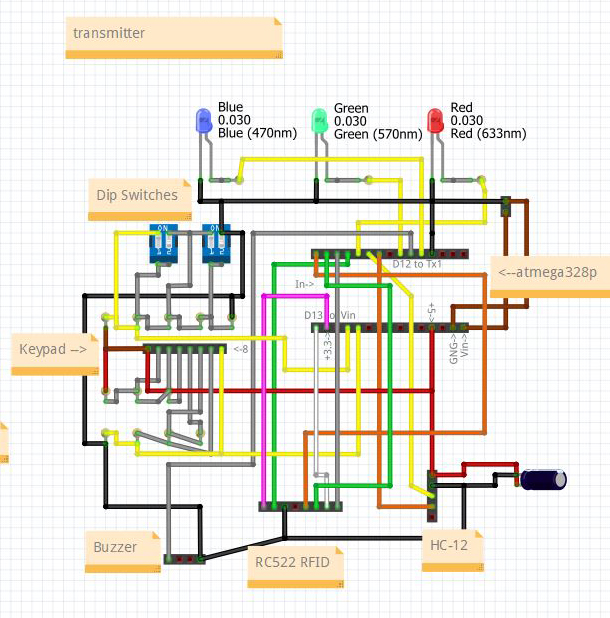
Transmitter
Development of a block diagram with the Fritzing software
Receiver
Creation of the schematic for the breadboard
Transmitter
Creation of the schematic for the breadboard

First tests of the components on a test board
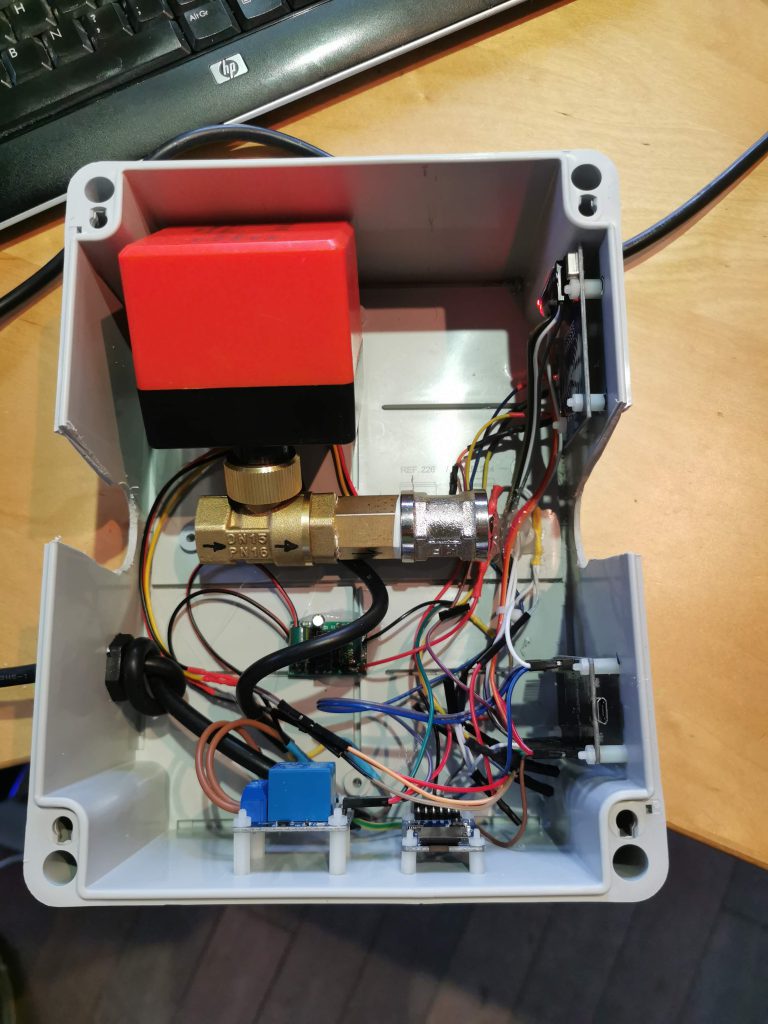
Prototype
Creation of a prototype
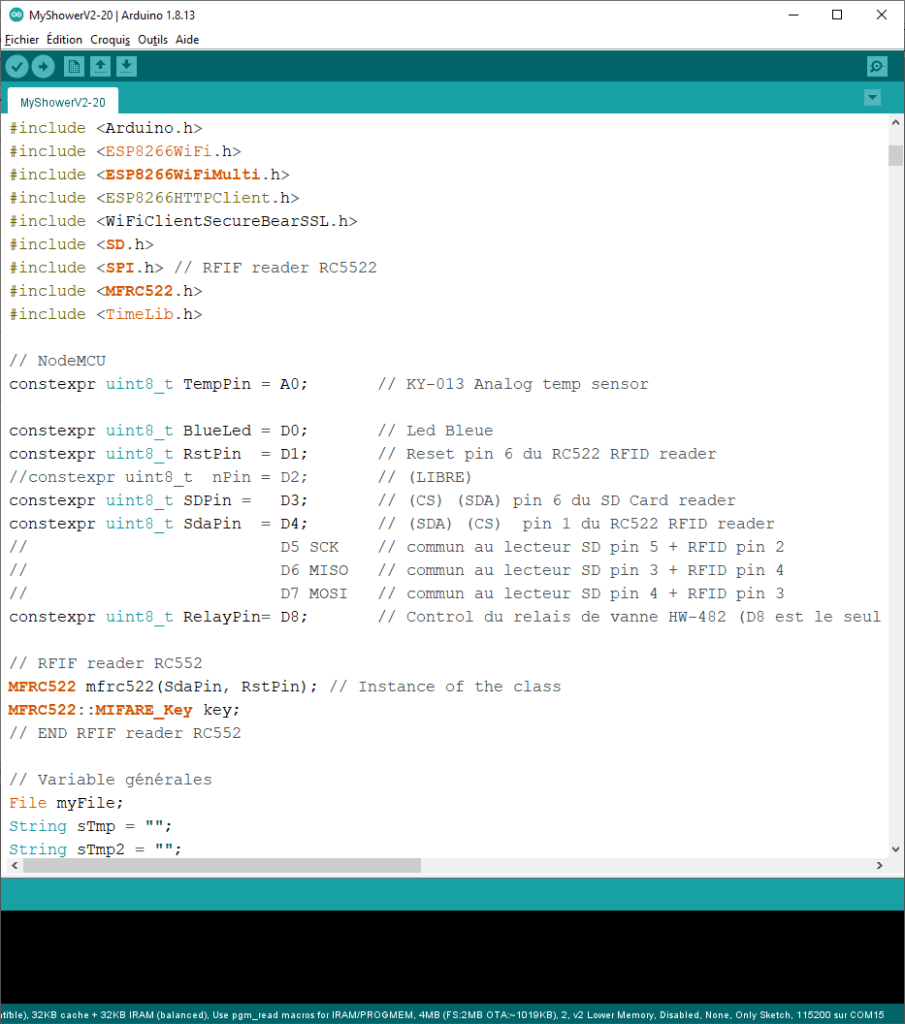
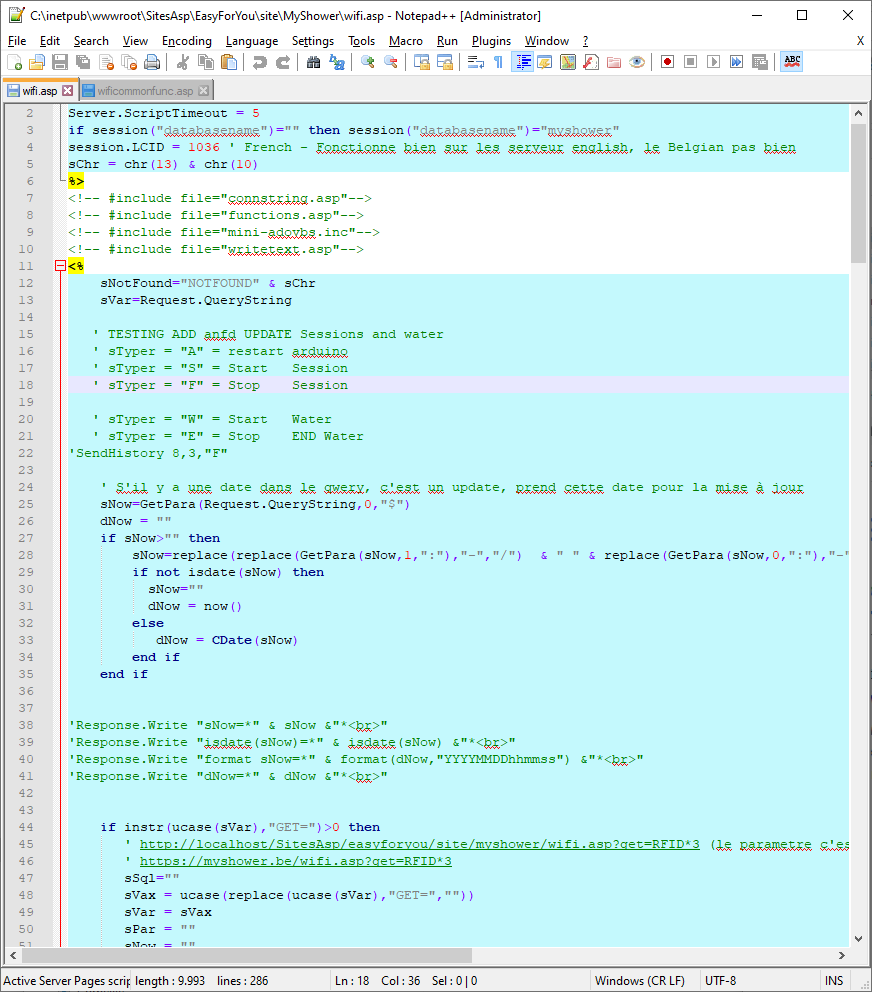
c++ software
Development of software to interpret sensor information and control the solenoid valve based on a Node-MCU V3 mini motherboard connected to WiFi
client server
Client-server software on the myshower.be website
Server: To manage the database
Client: To manage the opening from a mobile phone of shower sessions, activate the solenoid valve and consult the user’s history

The electronics in action:
During the development in C++ of the robotics module (domotics), all the steps and variables can be monitored in real time
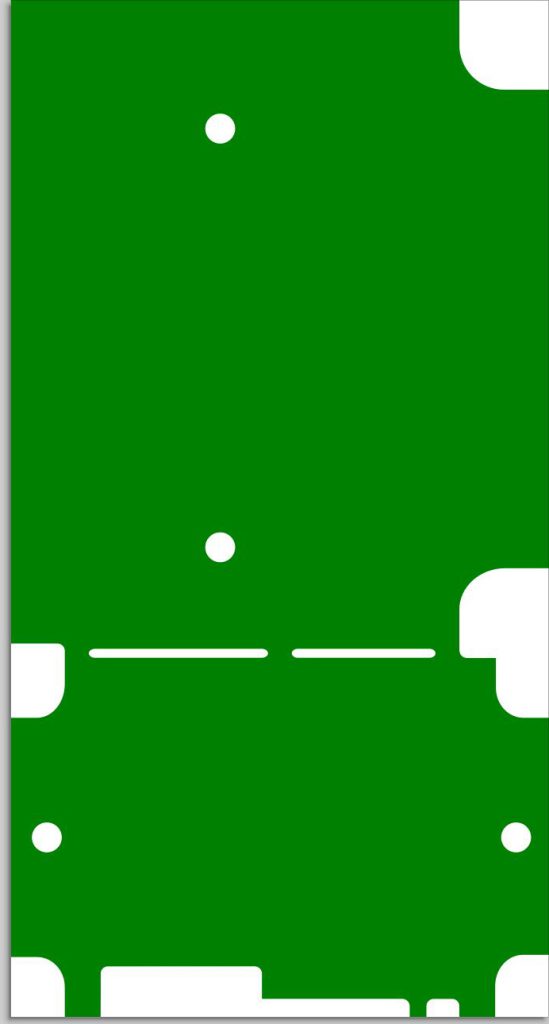
Creation of a cut-out format of the circuit board with the vector drawing software Inkscape
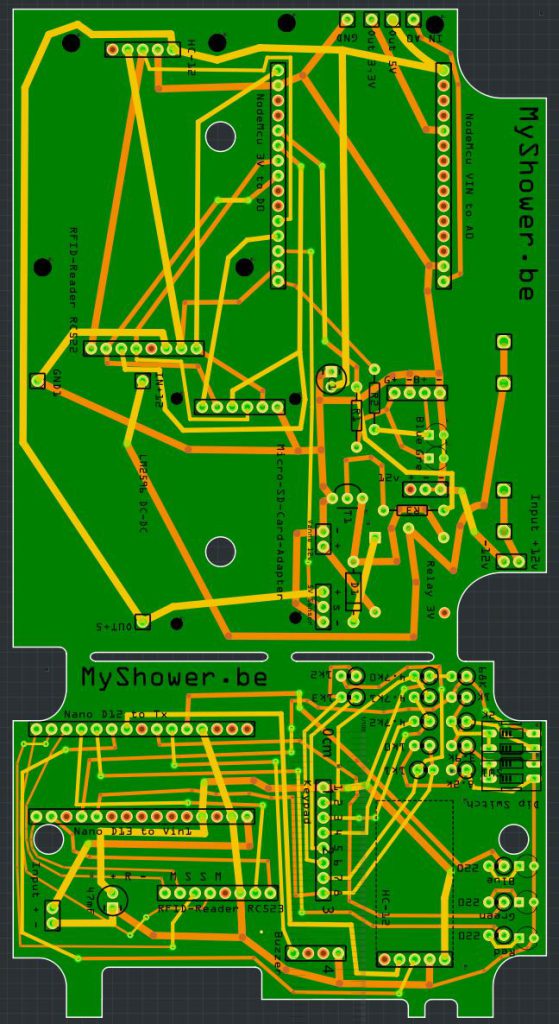
Creation of plan for the two layers circuit board in the Fritzing software
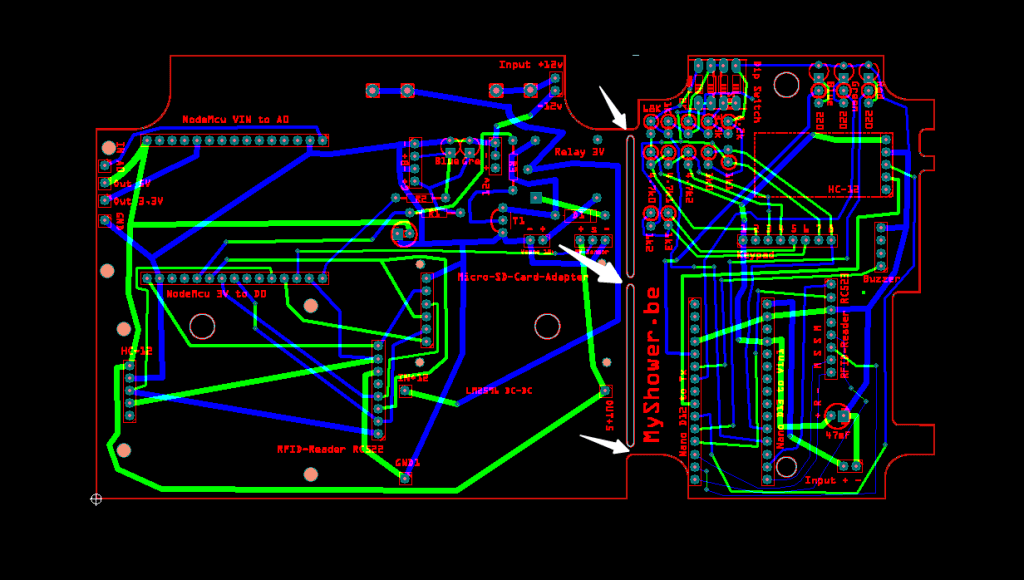
Circuit pre-press test before production in Taiwan
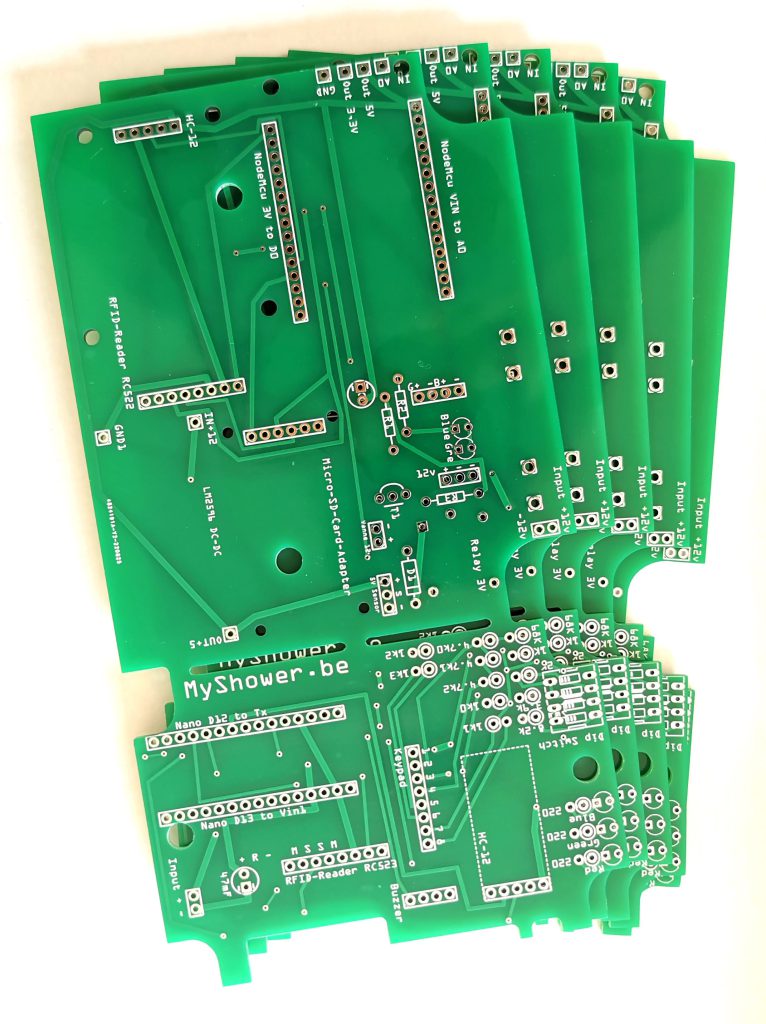
Receipt and verification of double-layer printed circuits

Soldering of components and connectors

Installing the Solenoid Valve and Receiver on the Shower Hot Water Line
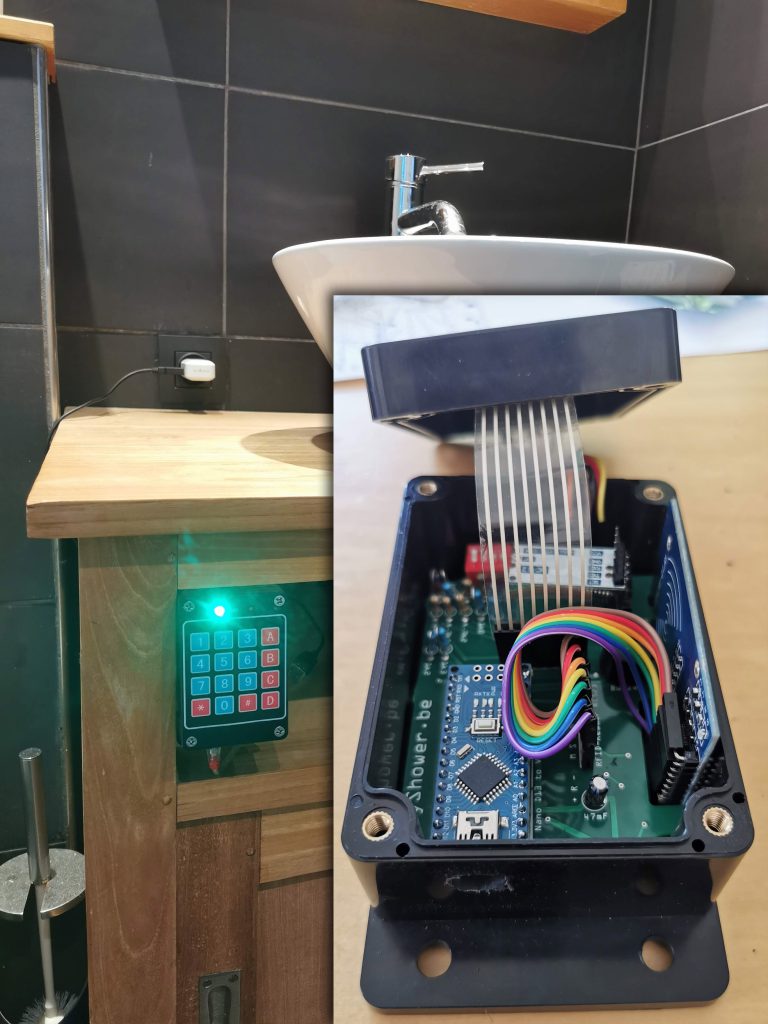
Bathroom
Installation of the transmitter in its waterproof box with external keyboard for the pin code and RFID reader
(In principle, the user controls his shower session with his mobile phone, but in case of absence of internet, the session can be started via his RFID key or a pin code)